When
I purchased the car, I did it knowing the engine was in need of a rebuild.
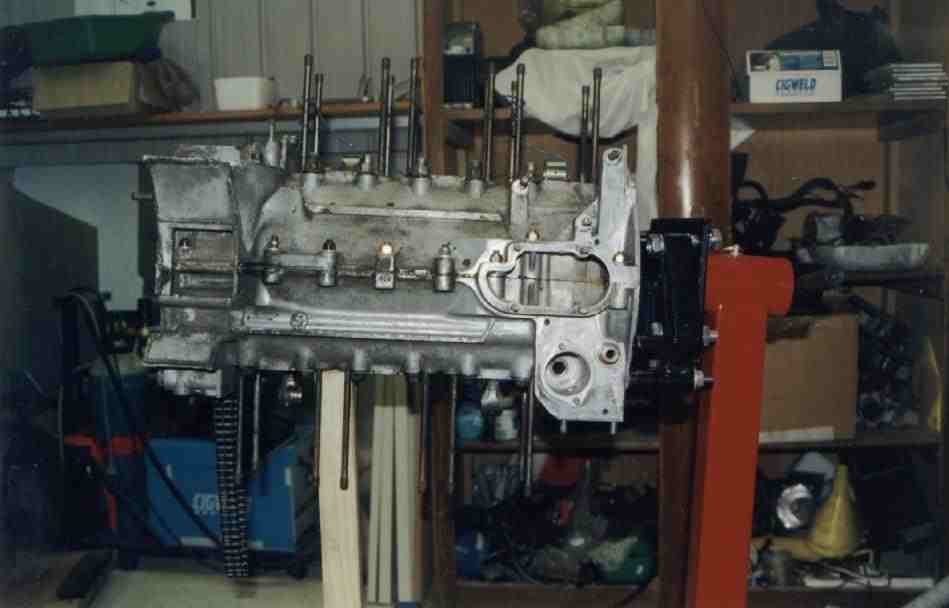
After the engine strip down, examination of the crank shaft revealed a deepscore
where the #6 big end
bearing had disentigrated, which turned out to be the
reason for the rebuild. The bearing had worn paper thin and was "grabbing"
the crank. Machining the crank was attemped but the damage was too great.
With 911 crankshafts, once the hardened outer surface is penitrated, the metal
becomes very soft. This necessitated the sourced a second hand crank shaft.
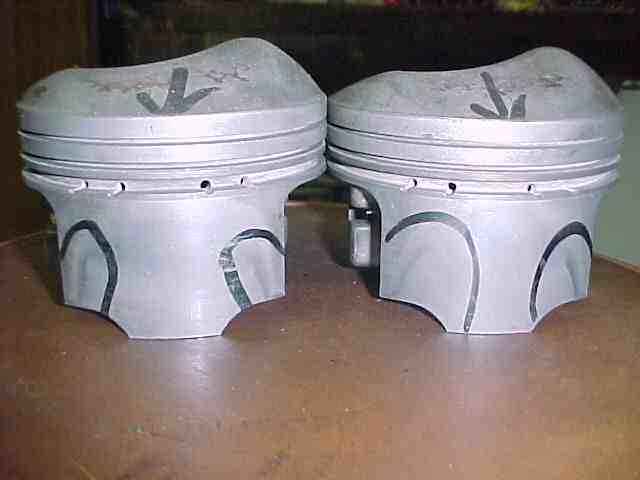
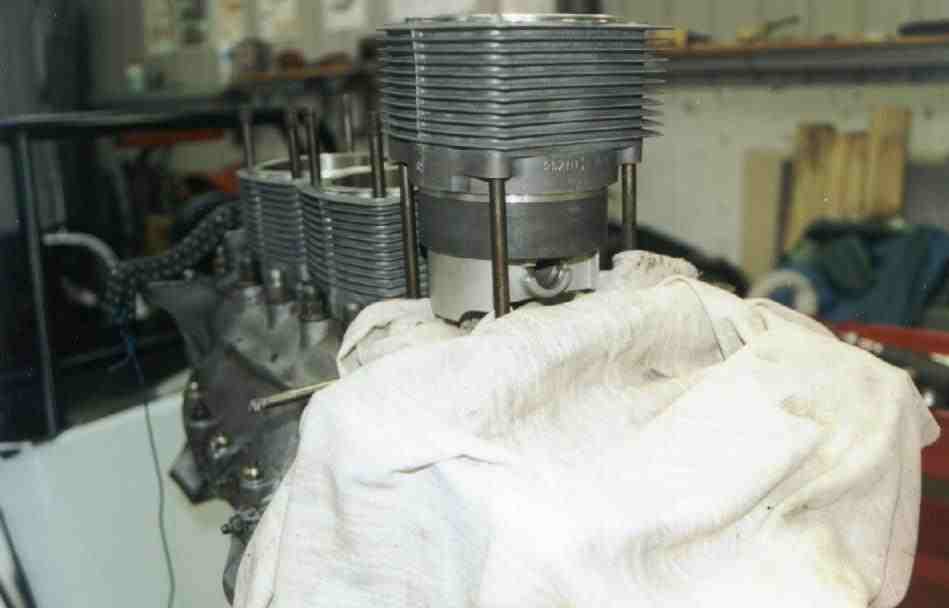
Examination of the other dismanted parts revealed that 2 pistons had cracked
shirts (see pic below), and another one was under weight. To do the job properly
meant replacing all pistons and barrells. Crack testing also revealed one
of the conrods needed replacement.
If
your 911 motor has suffered a similar fate, particularly with a main bearing,
I would love to hear the details - email me your story.

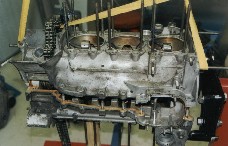
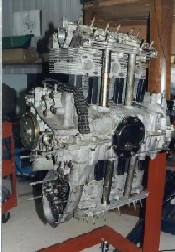
dismantled 3 litre engine
First
tasks after purchasing the car was to join the Rennlist 911 email list, pick up
a copy of Bruce Andersons "911 Performance Handbook" and Bentleys "Porsche 911SC
Workshop manual". These resources gave me a lot of information and aided my rapid
P car learning curve. In trying to resolve my Piston sourcing problem (3 of them
to be precise), I uncovered varying opinions on whether it was wise to purchase
second hand replacements or to lash out and purchase a new piston / barrel set.
I spoke to as many people as I could and researched all the books I could find.
The weight of opinion seemed to suggest that if I intend keeping the car, the
job should be done properly with a new piston / barrel set being installed. Fortunately
I had budgeted for a new set when purchasing the car.
My
"educational" continued as I scaled the internet and text books
for detailed information on rebuilding a 911 engine. Whilst I had rebuilt
a number conventional 4, 6 & 8 cylinder engines over the years, the air
cooled flat six was going to be a real challenge. Except for a few pictures,
unfortunately I found very little of useful material on the internet. Unfortunately
th Wayne Dempsey book had not been printed at that time.
In dismantling the engine I was carefull in sorting and labelling the parts, using
zip lock bags and plastic containers.
It
wasn't until a week later that I discovered that the second hand crankshaft had
come from a 78-80 model 3 litre motor, which was slightly different to my '81
crank in that it used a different flywheel spindle bearing setup. Not a major
problem except I needed to find a machine shop that would take on drilling three
screw holes in the end of the crank. With the help of my local Porsche Mechanic
this was completed with only minor drama. I also had my Mechanic swap over the
distributor and half shaft gears, which would have been a pain to do without the
proper tools.
Shopping
list so far includes:
- crank shaft (used)
- conrod (used)
- Mahle piston
/ barrel / ring set (new)
- full gasket / seal set
- #8 nose bearing
- main
bearings
- big end bearings
- wrist pin set
- counter shaft
bearings
- timing chains and guides
- oil pressure switch
- bolts
(rod & flywheel)
- valves and guides
- pop-off valve kit
|
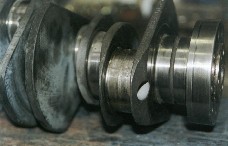
Look
at that #6 big end - beyond repair |
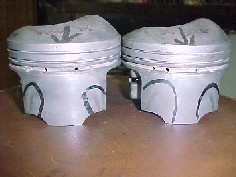
Two
cracked Piston skirts |
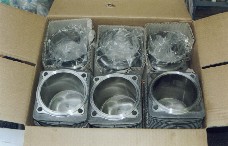
Shiny
new Mahle piston / barrel set |
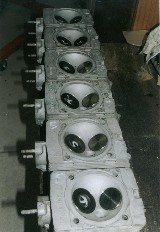
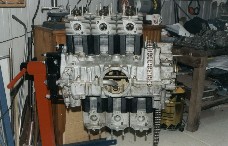
6
revived heads |
In preparation for the assembly of the crankcase, I had great difficulty in sourcing
a tube of Loctite 574. Loctite Australia informed be they didn't sell Loctite
574, but they suggested using Loctite 515 which was a very similar product. However
a number of Porsche people advised me not to use it. The local Porsche dealer
could provide a Porsche badged version for $75 which sounded ridiculous to me.
My local Porsche repairer was able to source a bottle of Wurth Case Sealant at
a reasonable price. Apparently Wurth produce the Loctite product under license.
I also purchased a tube of Loctite #3 as a non hardening sealant for use with
o-rings, and a spay can of Engine Assembly Lube which made it easy to squirt lube
into difficult places to get to.
Next stop was to visit the local machine shop for a number of reasons: 1) to have
the con rods balanced, 2) have the rod pins pressed in and machined to suit the
new piston pins. Unfortunately the second hand rod I purchased was quite a bit
lighter than the original set, which required having the other five rods shaved
to match the weight grouping.
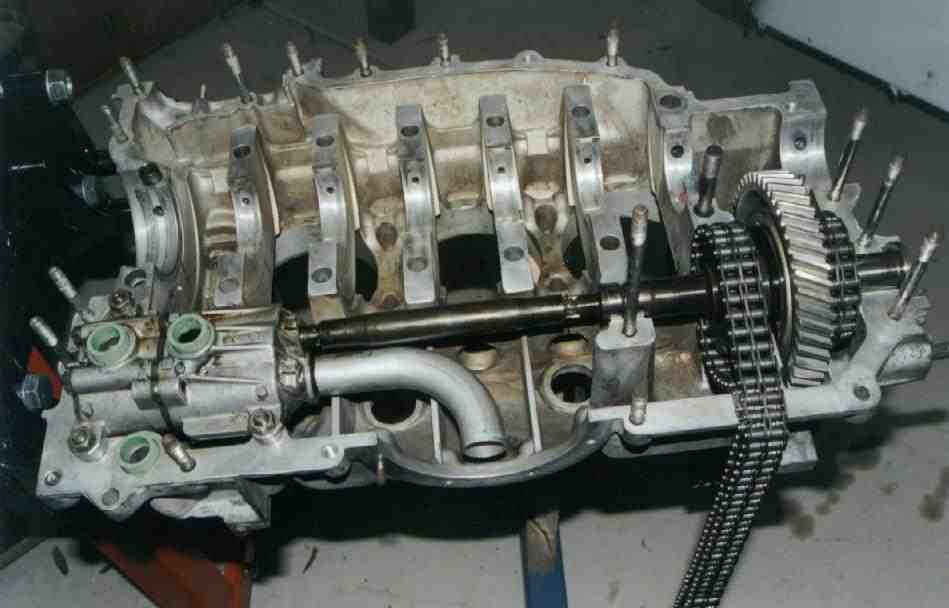
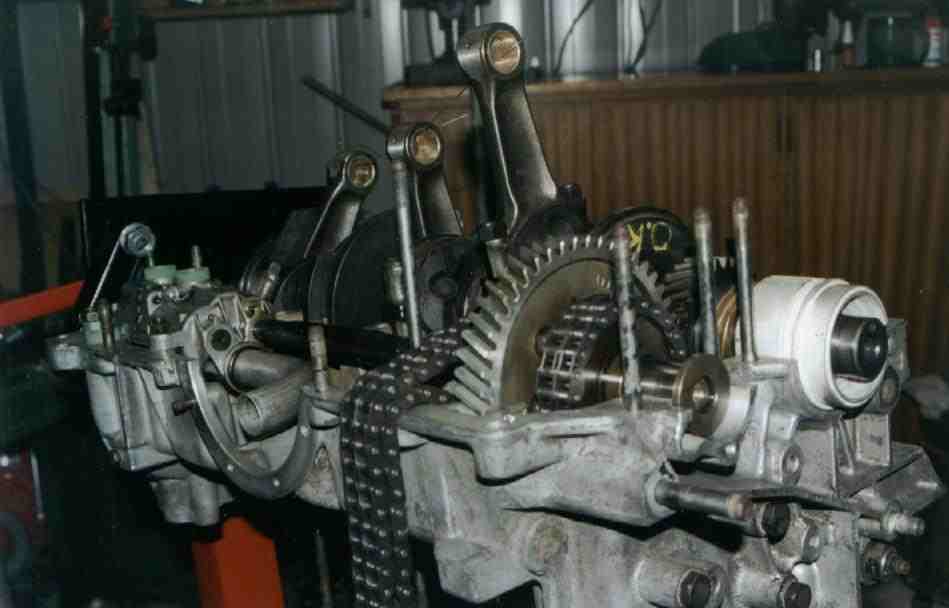
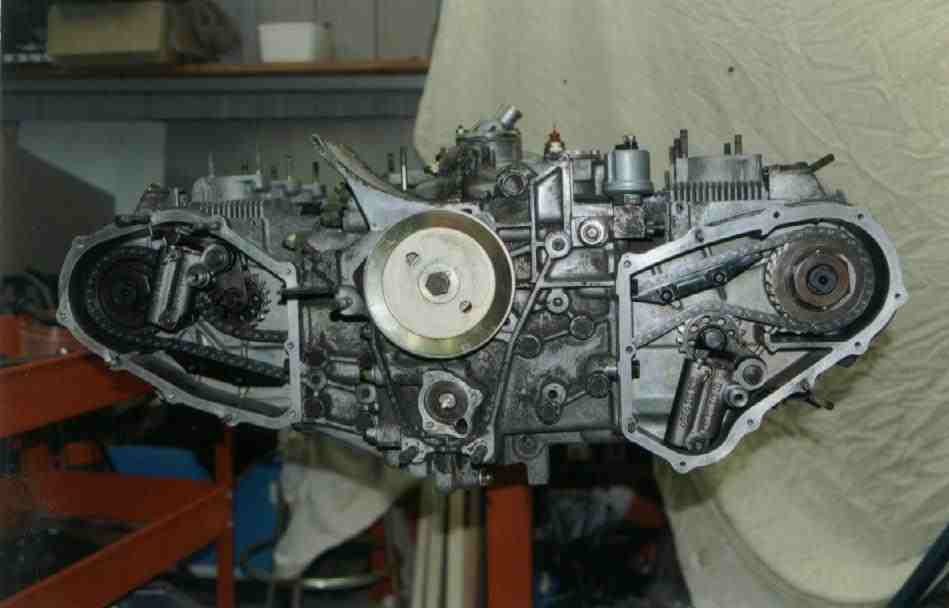
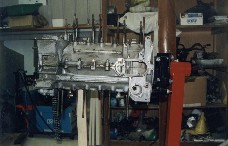
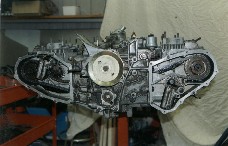
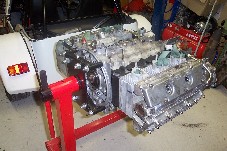
Layshaft and oil pump installed |
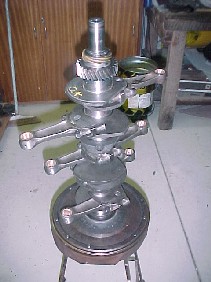
Crankshaft and rods ready to go |
Crank and rods installed in case |
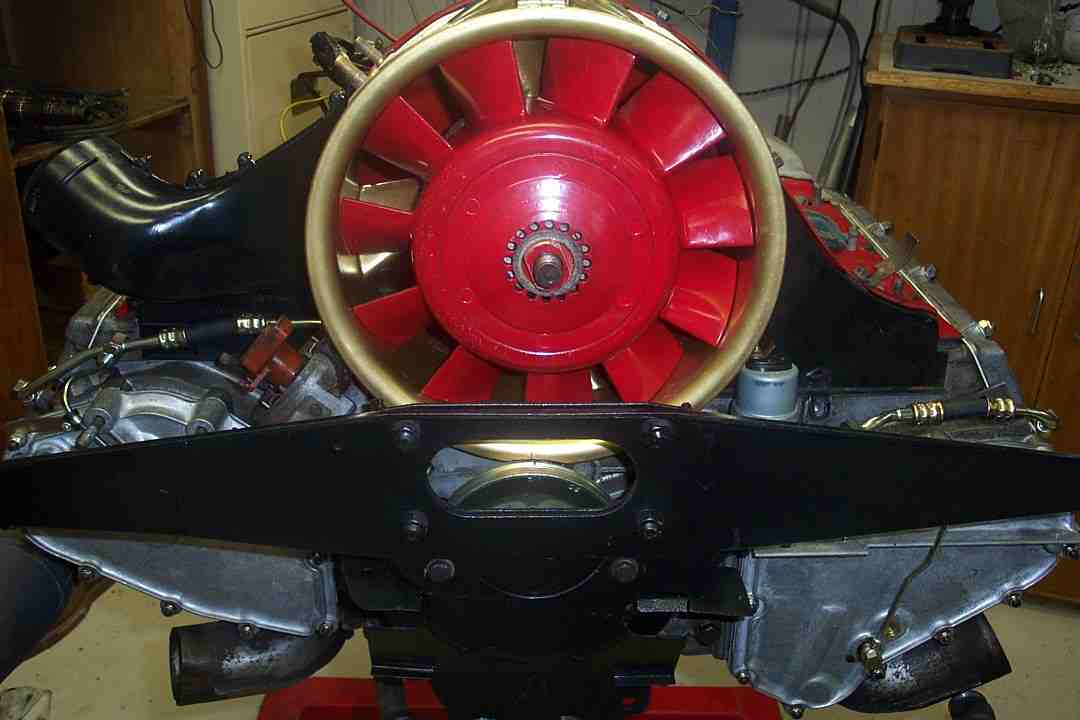
Whilst
all this activity was going on, I sand blasted all of the tin ware and applied
numberous coats of heat treated black paint. I also rubbed down the cooling fan
and shroud and beautified these with a combination of gold and red paint.
Sealing
the case halves |
Case
halves bolted together |
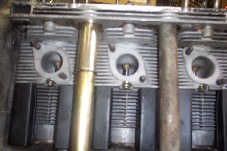
The
barrels going on |
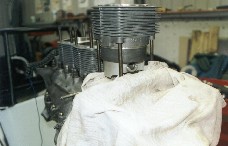
Putting
the wrist pins on - use plenty of rags to block the holes - you don't want to
drop anything inside the case |
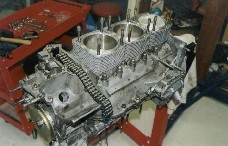
One
timing chain case on |
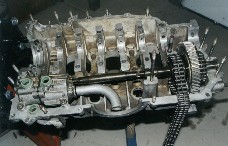
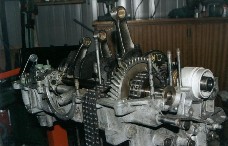
Cam towers on |
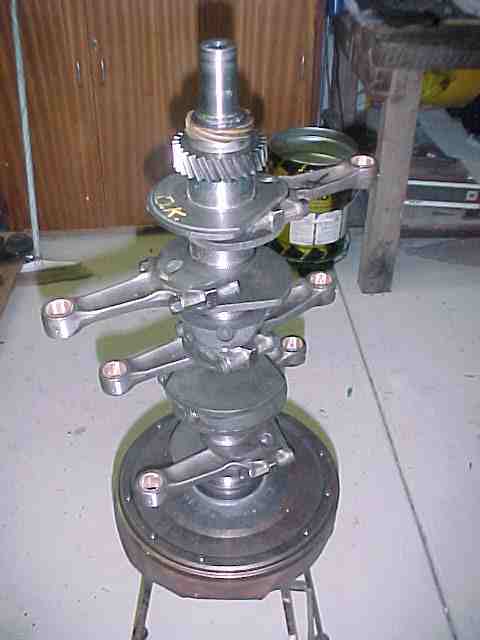
Assembly
of the crankshaft and rods went without a hitch. I found that bolting the flywheel
to the crank and standing the crank up on its end using the flywheel as a base
made the assembly very easy. The next task of assembling the crankcase was also
uneventful although I found it challenge to get the through bolts and case nuts
on and tensioned quickly before the sealent went "off". Performing this
task alone, I found it easier to suspend the upper case half from my engine host
and then lower it with the 3 upper con rods being held upwards with plastic coated
wire. The extra "arm" made it a lot easier.
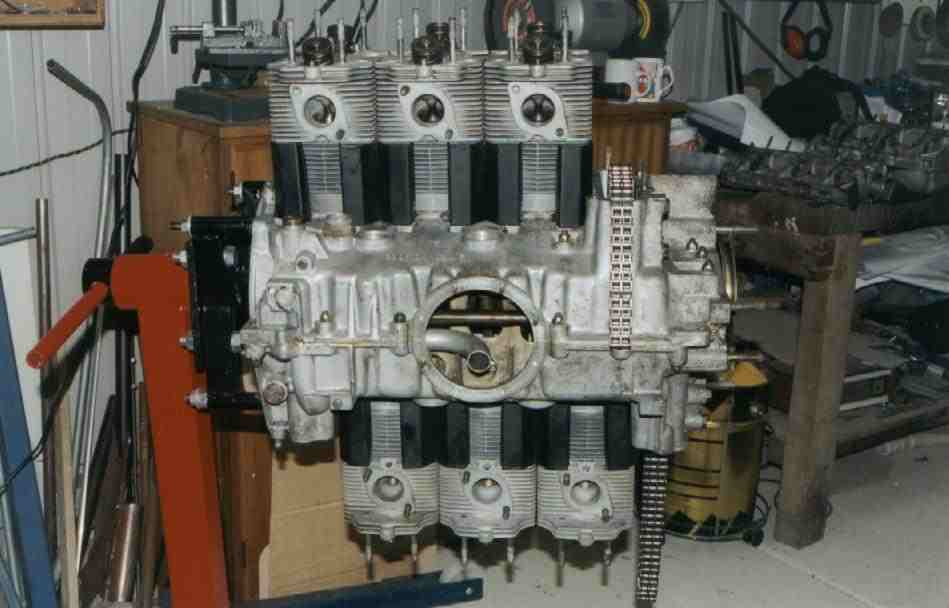
The
pistons and barrels went on next. There are a number of ways the pistons and barrels
can go on, but I chose to assemble the pistons, rings and barrels on the work
bench, with the piston pushed down the barrel with the pin holes exposed at the
bottom. It was a relatively simple task the then align the pistons in the correct
direction and insert the rod pin and clips. Ensure that you stuff plenty of rag
down all of the open holes in the case, as anything that drops down there will
be a real pain to get out.
The
next snag came when installing the cooling tinware around the barrels, as I couldn't
remember which way around they went (the cut out section up or down). None of
the reference books where much help, a quick email to rennlist solved the issue.
The inner tins are installed with the cut out section facing the head side of
the barrel.
Cam
timing set |
Use Mercedes "torque convertor sump plugs"
to block the air pump holes near the exhaust outlets |
|
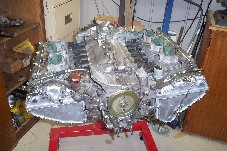
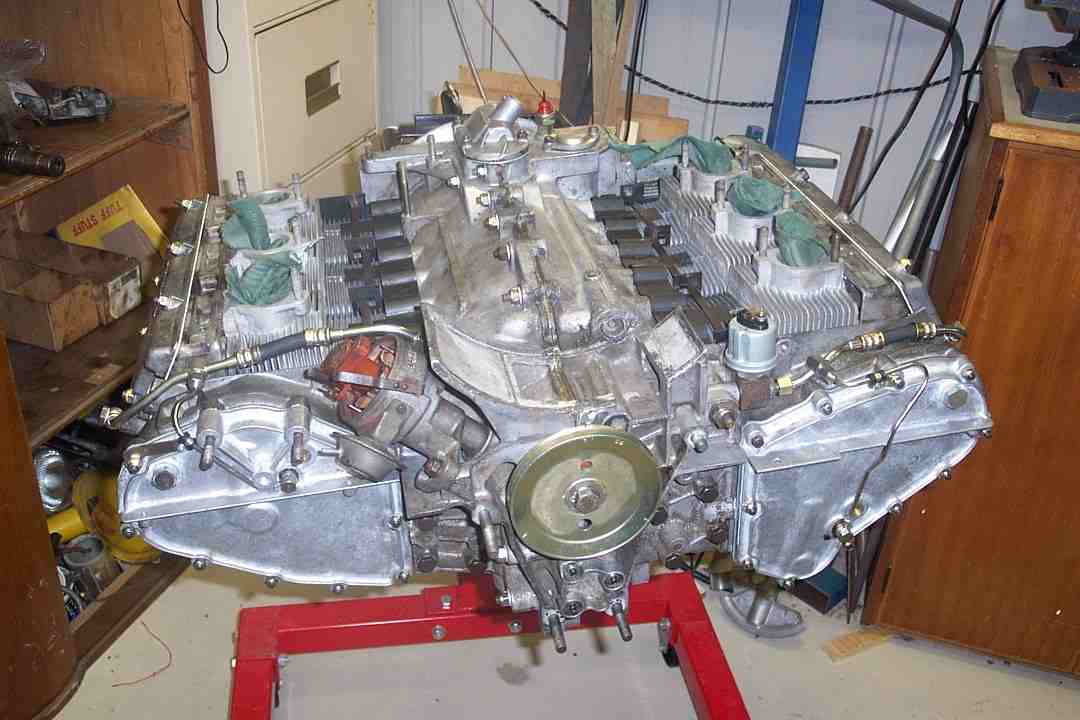
Near
complete long engine |
Modified el cheapo engine stand |
|
I
dispensed with the factory air pump and injection system, and plugged the injector
holes in the heads with a Mercedes Benz "Torque Converter Sump Plug". This is
an Allen keyed plug that fits perfectly.
Next went on the cam towers, cam shafts, chains and tensioners. Not having the
special tools for torqueing the cams shaft nuts, I took the motor for a quick
trailor ride to my Porsche Mechanic to check my timing and tension the nuts.
The
rest of the build was uneventful, however assembling the motor in my spare time,
the rebuild seemed to drag on for ever. "Slow but thorough" sounds appropriate.
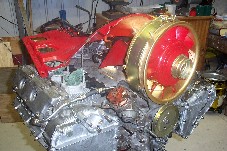
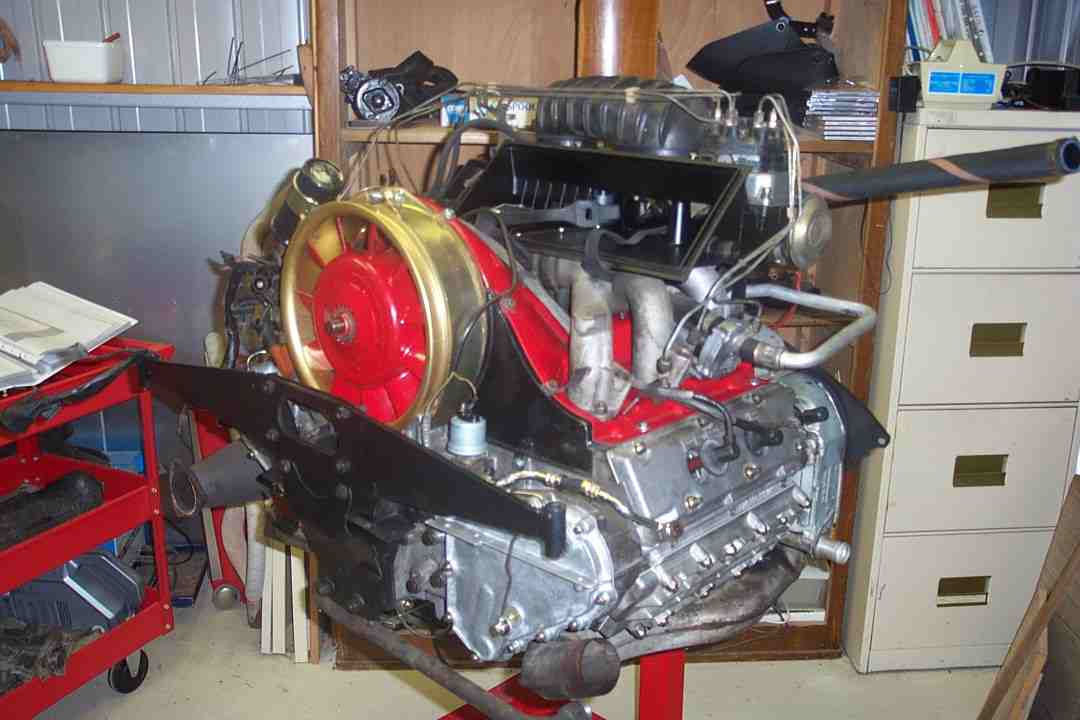
Installing
the wiring to the back of the alternator |
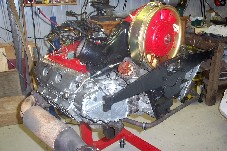
Shroud
and tinware goes on |
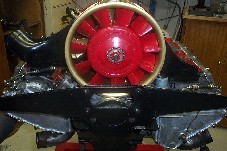
Front
on shot with new fan colours |
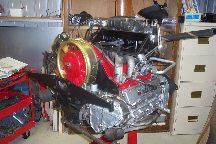
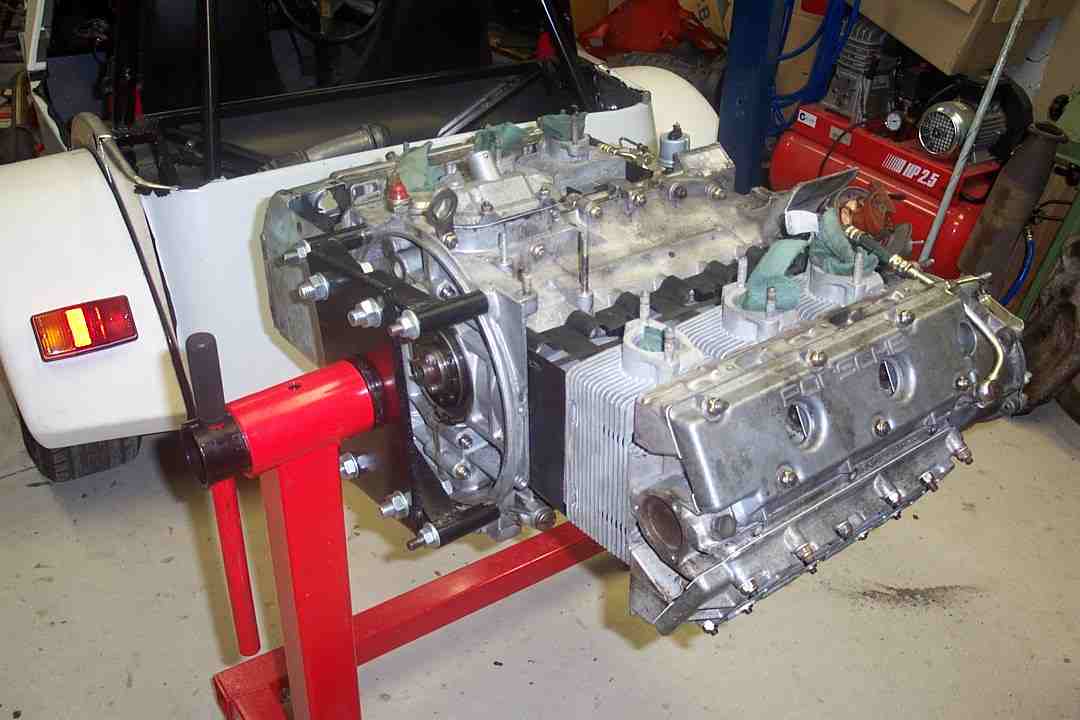
Complete engine |
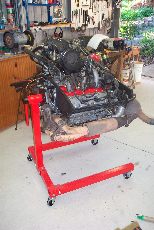
Complete engine on stand |
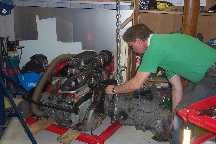
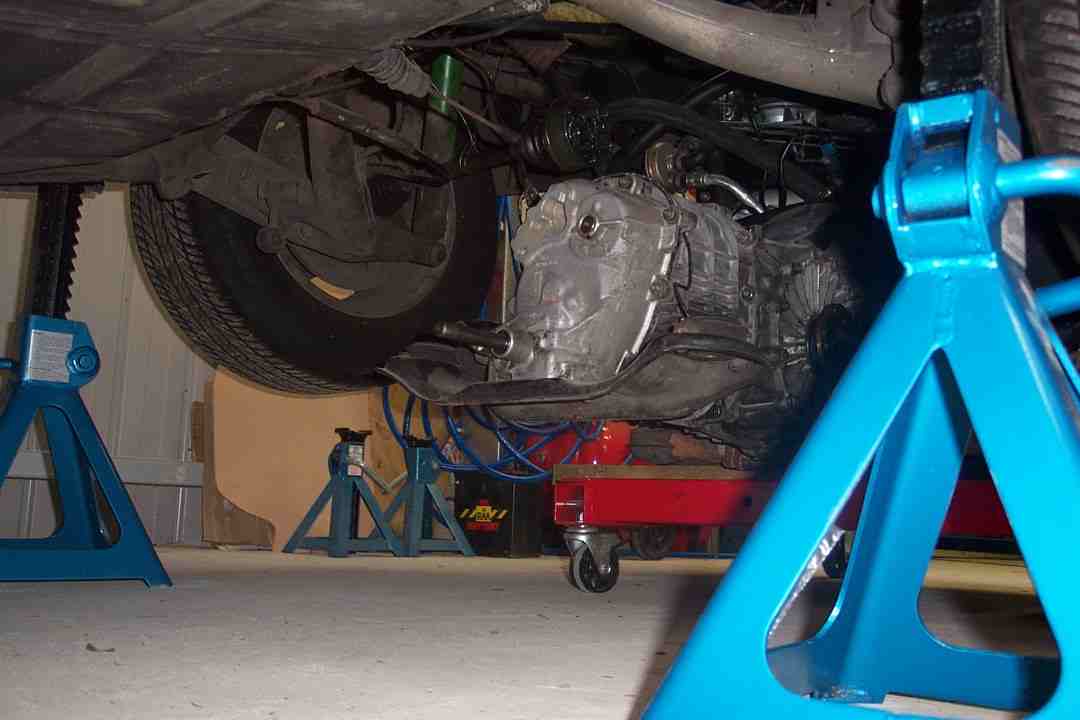
Fitting
transaxle with the help of an engine crane |
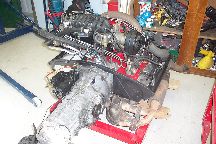
Ready
to re-install |
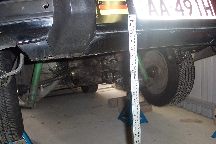
Rear
of car 35" off the ground |
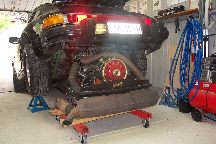
Under
she goes - using the engine stand base as a trolley |
For another view of engine remove and install,
see here http://www.paulsgarageblog.com/how-to-remove-the-engine-and-transmission-from-a-porsche-911sc/
Many
of the photos taken during my re-build and featured on this page have now been
published in Adrian
Steather's book, "Porsche 911sc, The Essential Companion".
The book can be purchased at Veloce_Publishing,
Amazon or any good Motoring book shop.